Win10-anaconda与tensorflow_gpu 2.0/py37的安装教程与配置
Win10-anaconda与tensorflow_gpu 2.0/py37的安装教程与配置
Content:
1.首先安装anaconda
2.创建一个环境,用来安装tensorflow2.0以及相关的python packages
3.激活创建的环境,安装tensorflow2.0 gpu版本及cudnn,cudatoolkit numba
4.测试是否安装成功
5.jupyter notebook中kernel的添加
6.福利:Tensorflow教程资源
1.首先安装anaconda
点击anaconda进入官网下载根据电脑下载,我是下载的Windows64位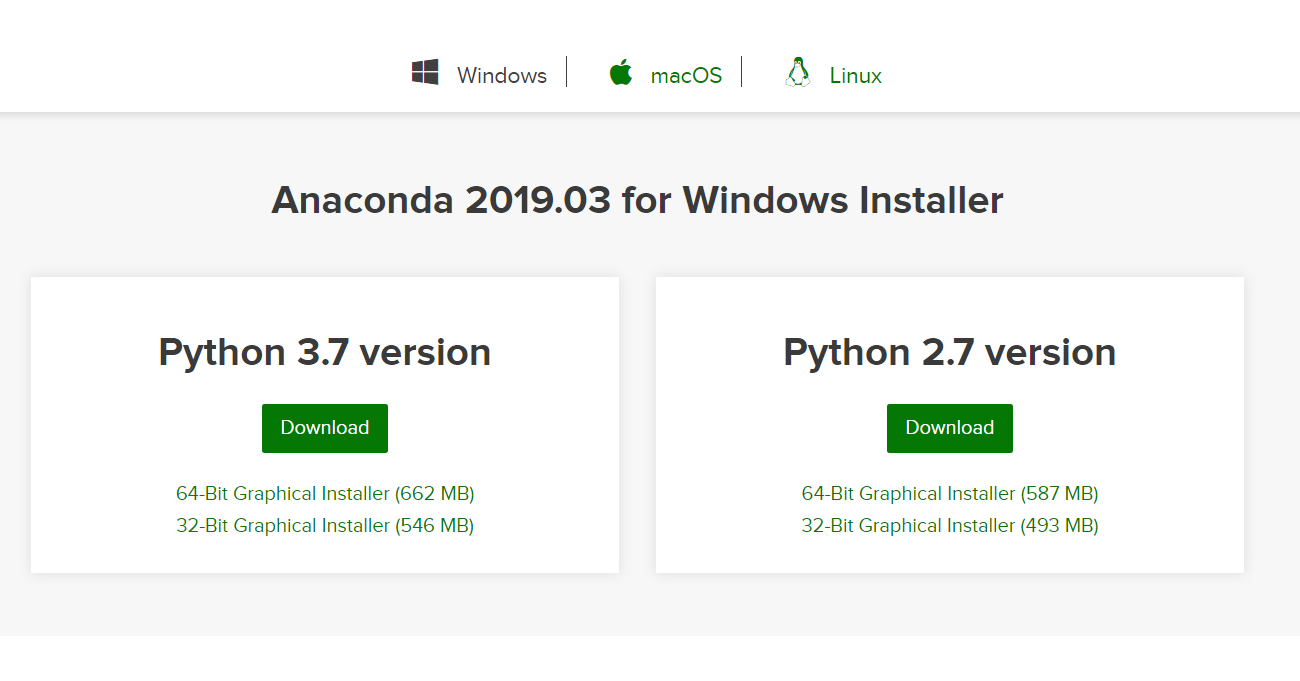 下载完成后双击安装,点击Next
 点击I Agree
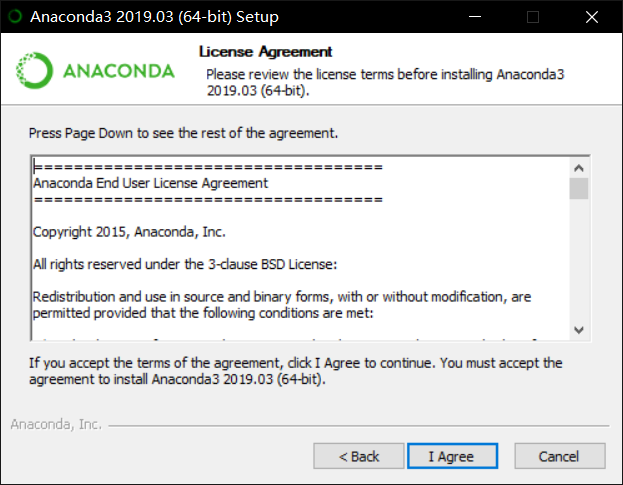 点击Next
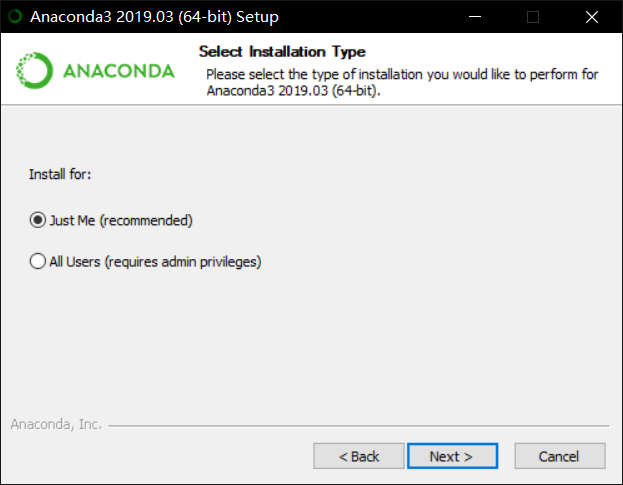 由于anaconda很大有2.4G,所以我选择在了D盘,然后点击Next
 默认Install
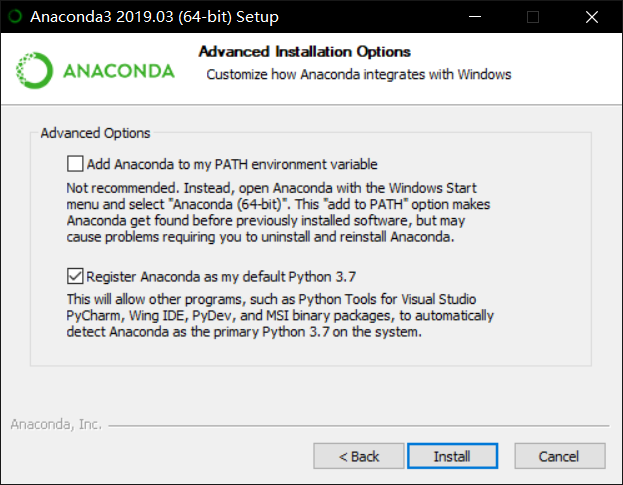 等待安装,然后Next
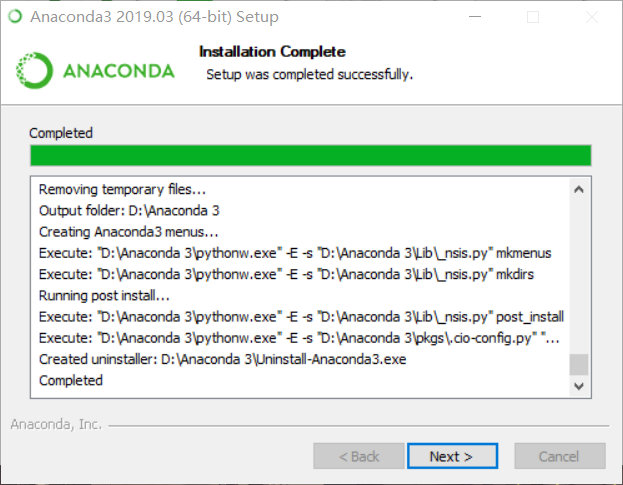 最后Finish
 安装完成后找到如下图点击打开Anaconda Prompt
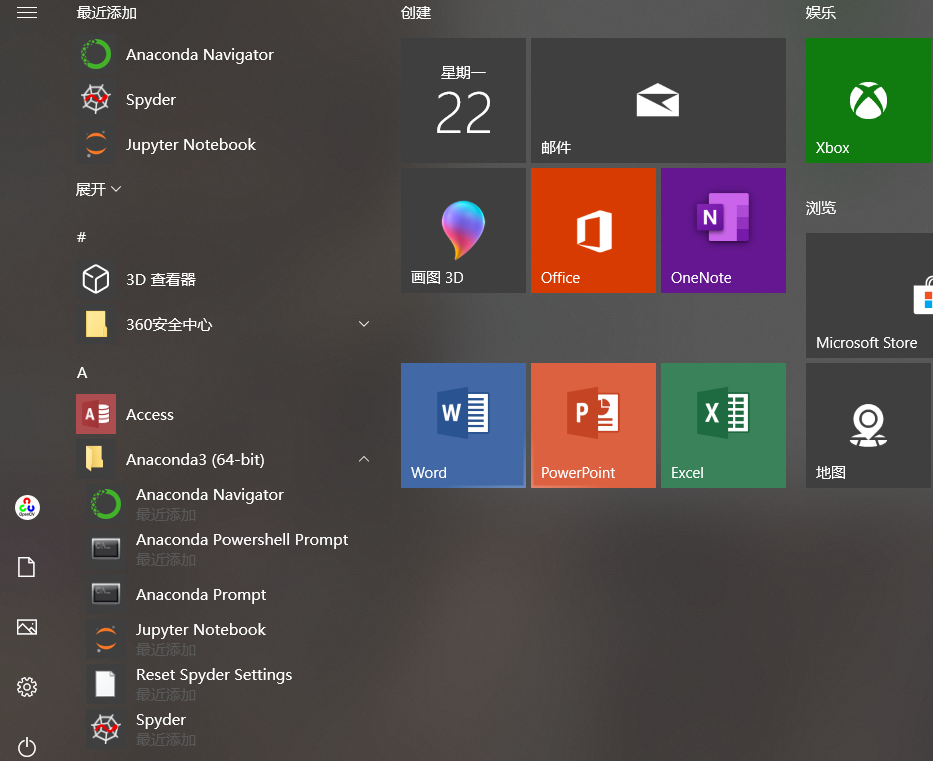 输入python出现如下图说明anaconda安装完成了
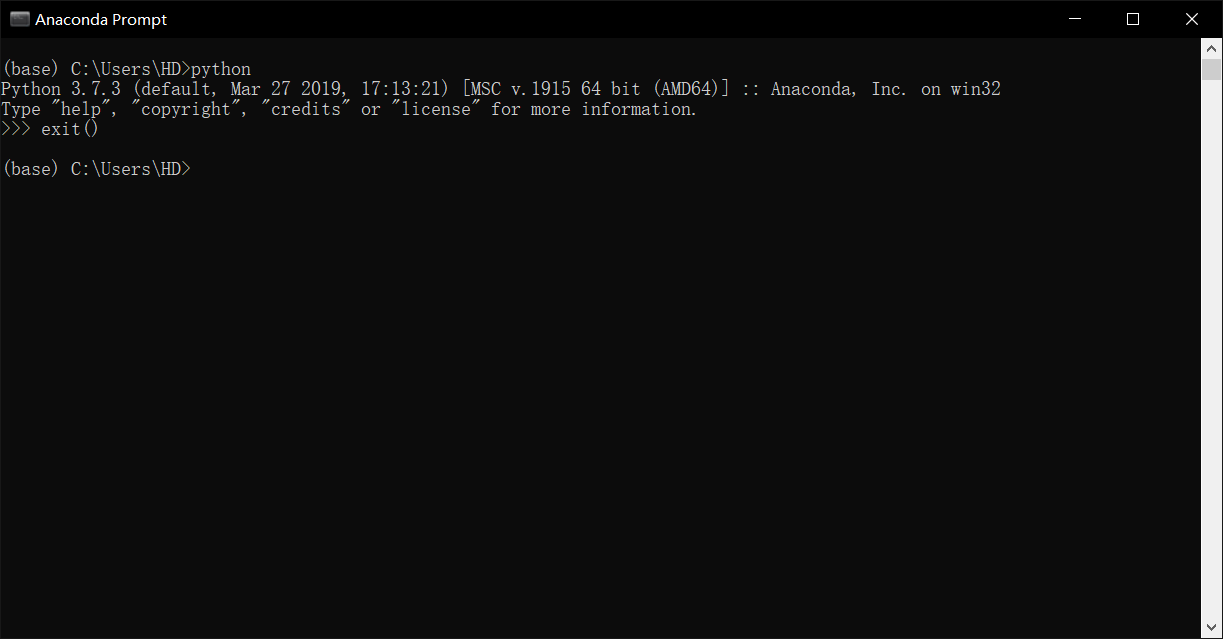
然后配置下载源来使⽤国内镜像加速下载:(添加清华源,命令行中直接使用如下命令)
1 | 1.conda config --add channels https://mirrors.tuna.tsinghua.edu.cn/anaconda/pkgs/free/ |
2.创建一个环境,用来安装tensorflow2.0以及相关的python packages
1 | #加上cudatoolkit and cudnn这样不论你的机器原来装的是否合适,都可以用tensorflow2.0gpu版本 |
要想安装gpu版本的同学,首先要查看自己的电脑CUDA driver version(驱动版本):就是NVIDIA GPU的驱动程序版本,查看命令:nvidia-smi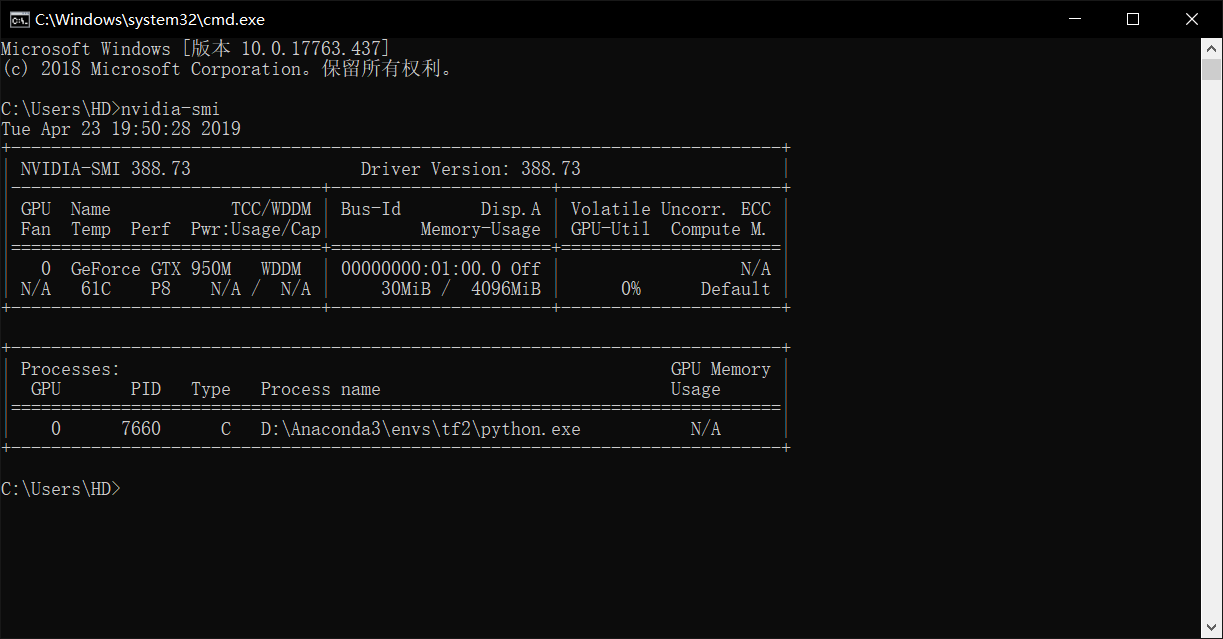 我们看到我的GPU的驱动程序版本是:388.73,所以我的电脑不能安装使用tensorflow-gpu 2.0,我win10上安装了tf2.0cpu版本,因为我的ubuntu18.04上我的GPU的驱动程序版本是:418.56
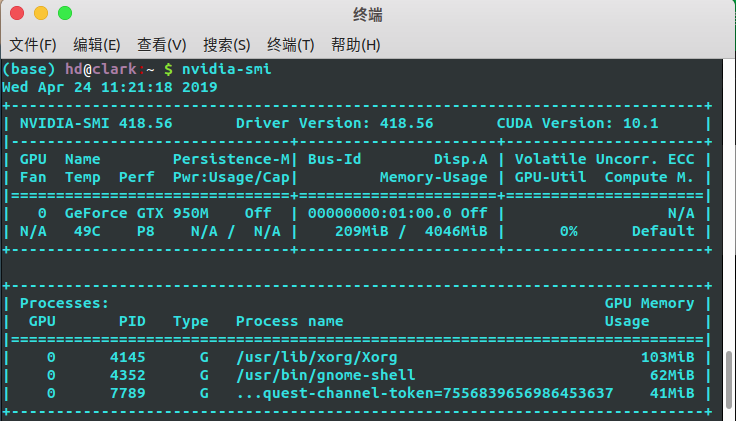 所以在ubuntu18.04上安装了py3.7–tf_gpu-2.0.0a0—cuda10,cudnn7.3和py3.6–tf_gpu-1.13.1—cuda10,cudnn7.3两个环境
具体官方windows参考网https://tensorflow.google.cn/install/source_windows
官方Linux参考网https://tensorflow.google.cn/install/source
CUDA、显卡驱动和Tensorflow版本之间的对应关系https://blog.csdn.net/IT_xiao_bai/article/details/88342921
CUDA版本官方文档对显卡驱动版本有要求,见如下链接。
https://docs.nvidia.com/cuda/cuda-toolkit-release-notes/index.html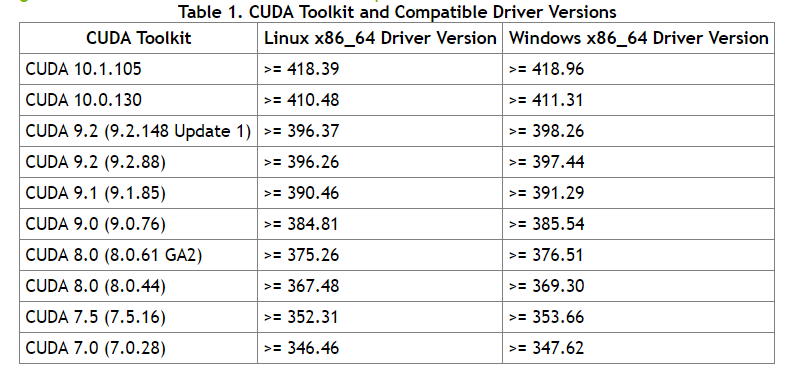
3.激活创建的环境,安装tensorflow2.0 gpu版本及cudnn,cudatoolkit numba
1 | conda activate tf2 #激活环境 |
以上就完成了tensorflow2.0的安装
4.测试是否安装成功
1 | #输入python,进入python环境 |
5.jupyter notebook中kernel的添加
很多使用jupyter的同学会遇到这样一个问题,在anaconda中创建了多个环境,启动jupyter notebook后,在new的下拉菜单中却找不到。本文就解决这样的问题。
1.解决方法
anaconda默认的是python3,比如上面我创建了一个tf2的环境,但在Anaconda Prompt输入jupyter notebook打开jupyter notebook发现kernel只有python3可用,而我想使用tf2这个环境却找不到。
- 首先,在anaconda中切换到tf2环境下,确认是否安装了
ipykernel这个包,如果没有则安装
1 | conda activate tf2 #进入tf2环境 |
- 然后,在这个环境下输入一下命令
1 | # xxx是在jupyter中显示的名字,建议使用环境的名字,但是不一样也没关系 |
- 在jupyter notebook中安装扩展
1 | 1. pip install jupyter_contrib_nbextensions |
如图
打开jupyter notebook查看如下: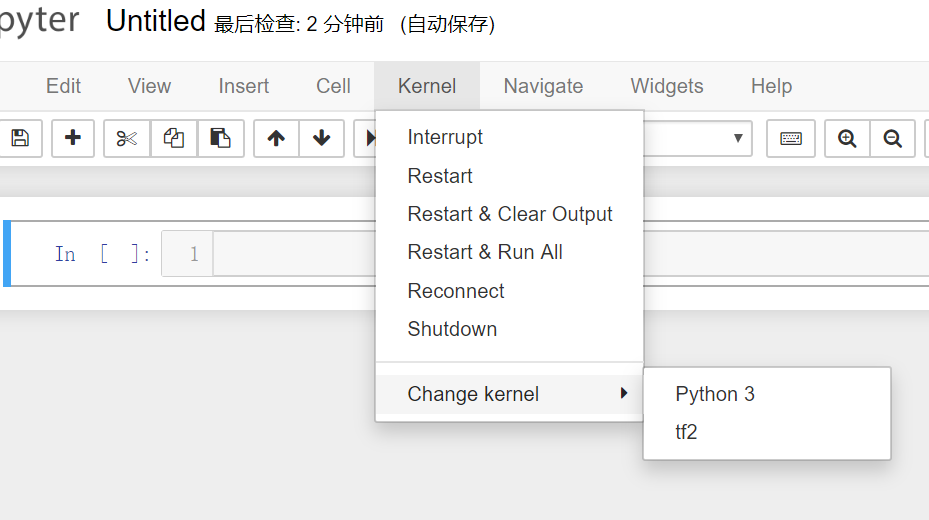
- 对于
import tensorflow as tf排障可以参考https://blog.csdn.net/krrmjssf/article/details/82986647
2.遇到困难(选)
在第二步中,linux环境下可能会遇到权限不足的问题,需要sudo权限。但是使用了sudo权限后,默认的python就不是环境中的python了,可以使用which python来查看。两个方法:
- 我们手动告知python的具体位置
1 | # 这里我们手动告知python的路径 |
- 改变系统默认的python,不推荐(已去掉)
6.福利:Tensorflow教程资源
- 适合初学者的Tensorflow教程和代码示例:https://github.com/aymericdamien/TensorFlow-Examples该教程不光提供了一些经典的数据集,更是从实现最简单的“Hello World”开始,到机器学习的经典算法,再到神经网络的常用模型,一步步带你从入门到精通,是初学者学习Tensorflow的最佳教程。
- 从Tensorflow基础知识到有趣的项目应用:https://github.com/pkmital/tensorflow_tutorials同样是适合新手的教程,从安装到项目实战,教你搭建一个属于自己的神经网络。
- Tensorflow入门教程Github学习:https://github.com/amusi/TensorFlow-From-Zero-To-One

原文作者: 贺同学
版权声明: 转载请注明出处(必须保留原文作者署名原文链接)